the problem
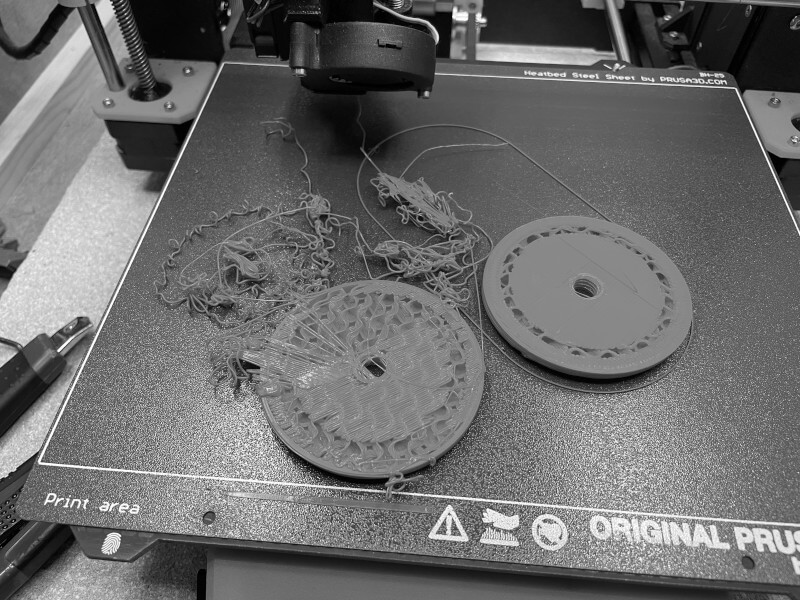
It's easy to have a mismatch between the filament type that we intended to slice for, the one that we sliced for, and the filament that we load into our 3d printer. I've made mistakes like this a few times and each one ended with a print failure.

part of the solution
Of course a perfect memory, and perfect attention to detail, would prevent mistakes, however as we say, we are only human.
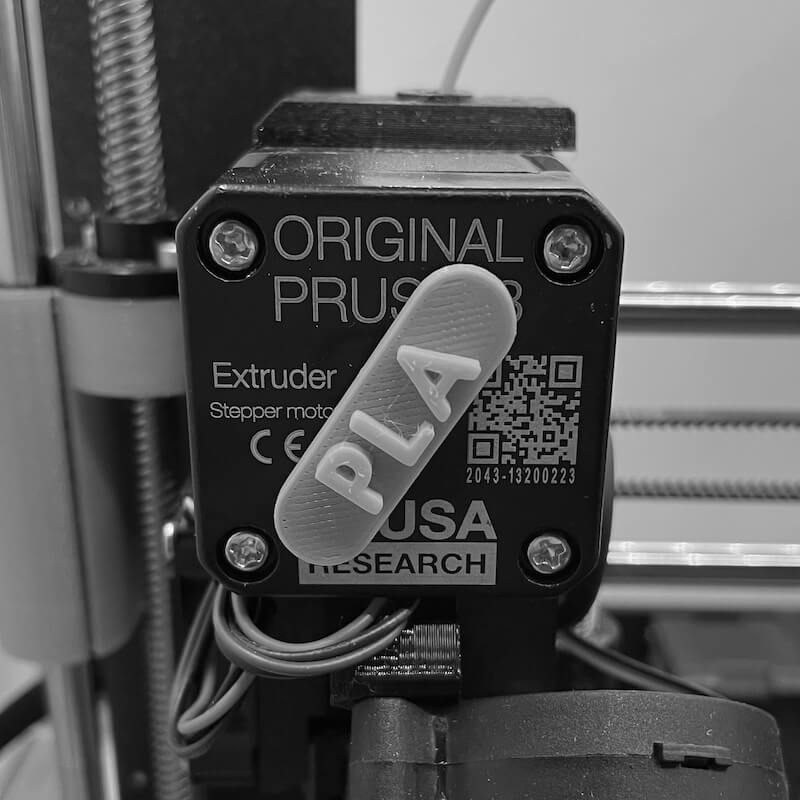
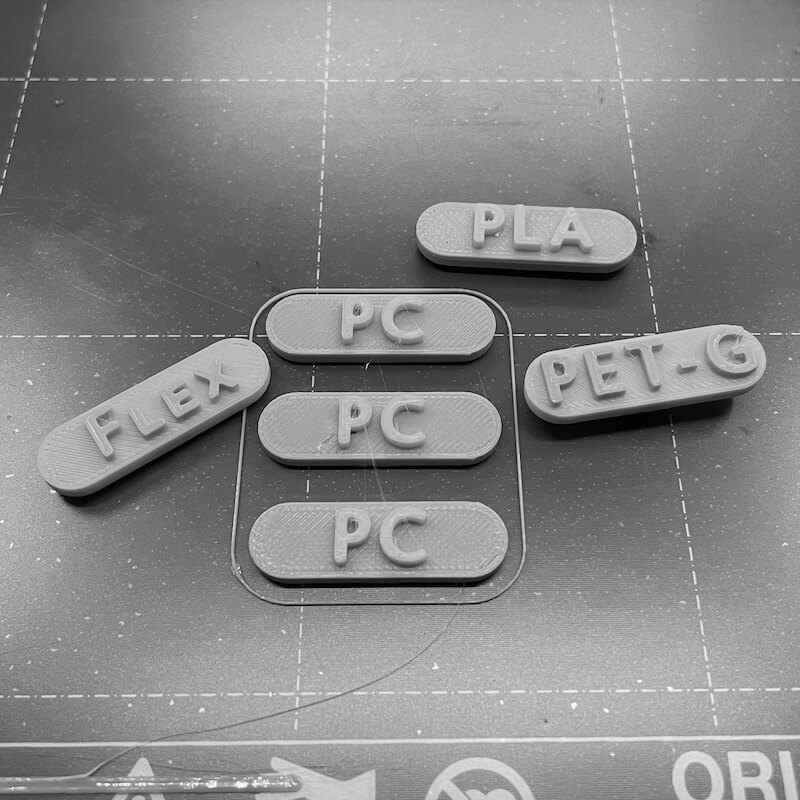
I thought about printing some tags to leave near the printer to show the type of filament that I had loaded. Then I had a better idea: print the filament type on an easily changeable visualiser on the Extruder.

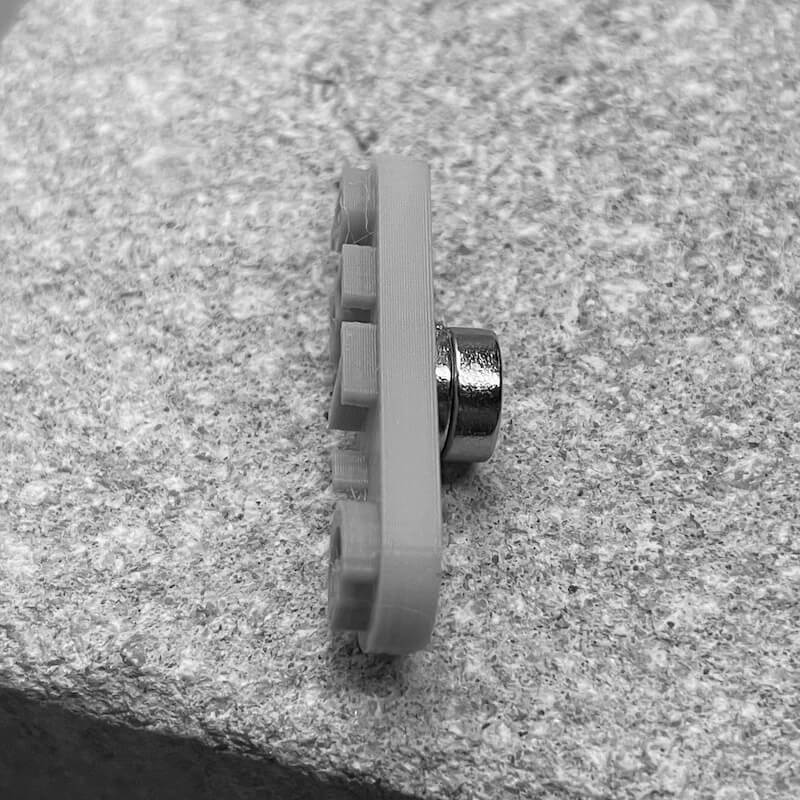
As is usual with visualisers an 8mm magnet holds it to the Extruder motor. The visualiser does what it does: shows us E-Axis movements. The text tells us what filament we loaded.

Of course we can try and remember to change the filament type visualiser when we change the filament: it might help us to check:
- Intended filament type.
- Filament type that we sliced.
- Filament type loaded into the printer.
You will find print information and files at prusaprinters.org

I took the photos before tidying up the prints so some hairs.
Print as intended!