The blocked hot-end problem
As we 3D print, sooner, or later, we will find that the hot-end blocks. This could be from no fault of our own, or from our inattention to detail. No matter how we arrived at the blocked hot-end, we need to unblock it somehow.
Solutions
The advice in article and forums ranges from pushing the blockage through the hot-end with more filament (trivial) to disassembling the hot-end (quite a bit of work). My first 3D Printer (a Wanhao i3) came with a thin wire for pushing a blockage out through the nozzle of a heated hot-end. On forums I came across suggestions about using short steel rods to do the same thing.
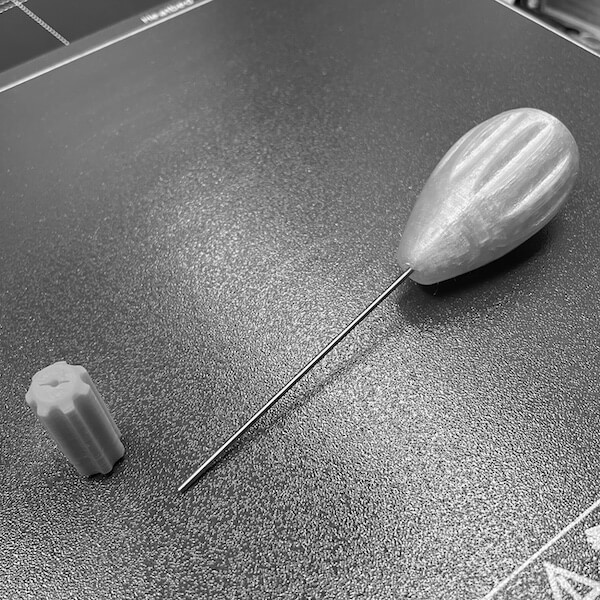
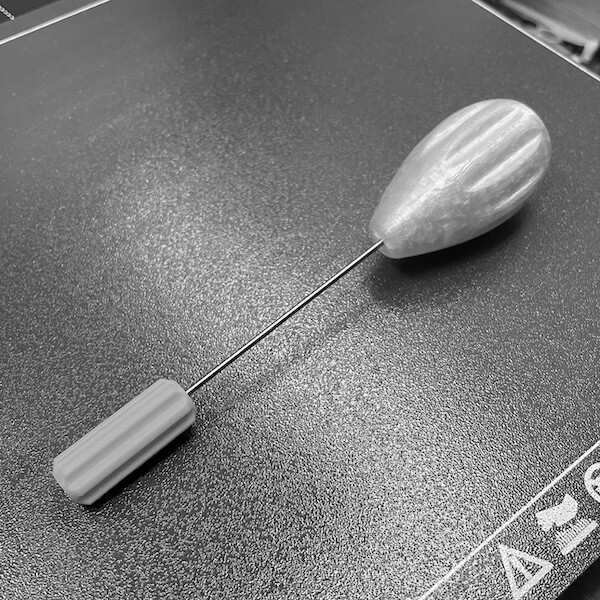
My Prusa i3Mk3S 3D Printers fitted with the stock E3D V6 Hot-ends are very reliable; I have not had many hot-end blockages. I messed up a filament change recently and I found that the Round Steel Rod worked well to clear the blockage. I could also see that I could injure myself with the other end of the thin steel rod so I designed a push on handle and cover to make using the rod safer for me.
This tool is for a 1.75 mm filament path hot-end and should work with most printer brands.
Hot-end Purge Tool Handle

You can find the Hot-end Purge Tool Handle design at prusaprinters.org. I use this 1.5 mm Round Steel Rod, 100 mm with my handle.

Design
- Handle and rod end cover designed in FreeCAD and exported as an .obj file.
- PrusaSlicer generated the gcode.
- Printed on a Prusa i3Mk3S
- 0.4 nozzle.
- 0.20 or 0.15 layer height probably best.
- PET-G or PLA or any suitable material (not TPU/TPE).
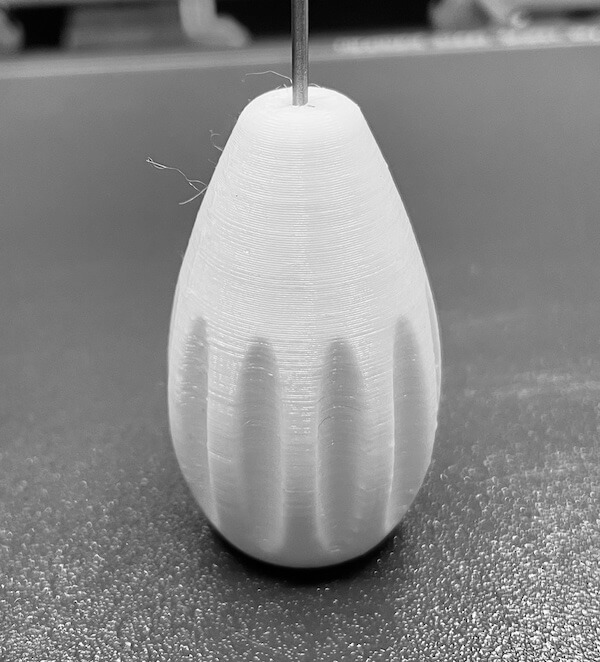
- Print with the top of the handle on the print plate or bed without supports.
- Change any of the above as you want to suit your methods and equipment.

Other parts
Assemble
Please be careful fitting the steel rod into the handle! Take care not to damage work surfaces, or yourself! The steel rod is thin and sharp enough to puncture your fingers, or hand, or other body parts! If you are in any way concerned about the safety of doing this: don't do it.
- Carefully, push the steel rod into the slotted hole in the bottom of the handle.
- This is a tight fit (so that it stays in later) so be patient and be careful inserting the rod.
- You could, if you wanted, put a spot of Super Glue on the end of the steel rod before you push it into the handle. This would make it even more secure in the handle. I usually end up gluing my fingers when I use Super Glue so if you do this, please take care to avoid that!
- The cover for the other end of the steel rod pushes on to the rod in the same way.
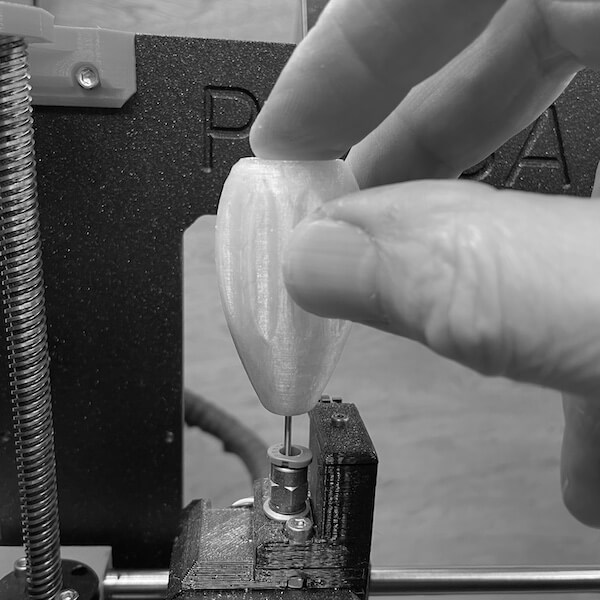
Use to clear a hot-end blockage
Before you use this tool consider your extruder design and if this tool is suitable for the task you want to use it for. Your printer, your tool: you decide if it is safe for you, or your equipment to proceed.
- Preheat the hot-end and unload filament as you are able so that there is no filament above the extruder gears (idler).
- Check that the hot-end temperature is suitable for the type of filament blocking the hot-end.
- Gently push the steel rod down through the filament path to force filament out of the nozzle of the heated hot-end.
- Withdraw the steel rod using the handle.
- Reload filament and resume printing:-)
Be careful not to burn yourself! The steel rod may become hot from the heat in the hot-end while you use it (that is why it is called a hot-end!). I would not recommend leaving the steel rod in the hot-end after you use it to clear a blockage. It may get so hot that it starts to soften the handle: the handle may then not stay on the steel rod. Unlikely, but worth mentioning, I think.

I have posted this project at prusaprinters.org